LED design mirror (DIY) using ZigBee controller from cheap Ikea Trådfri
Written by Bastian Raschke.
Published 2018-04-15 in the category Smart Home.
When I moved to my new apartment, I bought a lot of new things to feel comfortable in my new home. But for my bathroom I got an old mirror from my parents for free. The raw mirror looked a bit unimpressive. So I pimped it to a nice looking design LED mirror which is also compatible with the Ikea Tradfri smart light system.
First check out the final result in my bathroom:
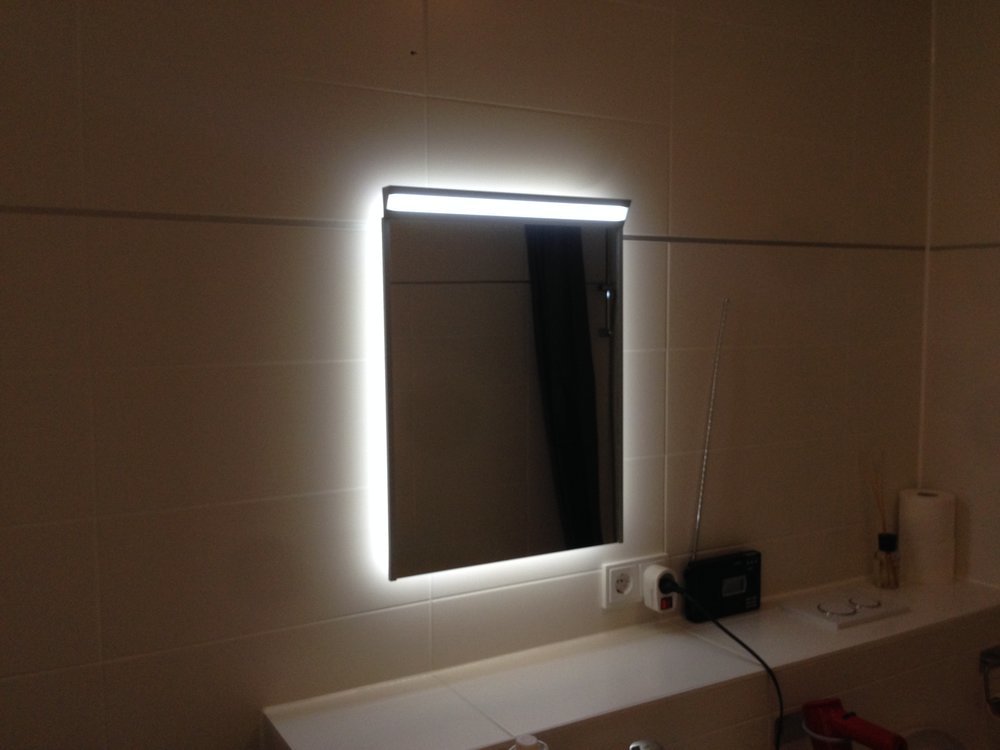
My Ikea Tradfri compatible DIY design LED mirror
Technical details
- 60cm x 45cm mirror
- neutral white high quality lightstrips (24V, 4500K, 1200lm, IP63) for background lighting
- cold white high quality lightstrips (24V, 7000K, 1600lm, IP20) for front lighting
- high quality aluminum profile for front lighting with opal cover
- powered by a MeanWell 24V 60W power supply (HLN-60H-24A) rated with IP65
- controlled by Ikea Tradfri ZigBee module (extracted from Ikea Tradfri GU10 light bulb)
- N-channel power MOSFET AP70T03GH as LED driver
- total cost: around 200€ (excluding the raw mirror)
Ikea Tradfri ZigBee compatible
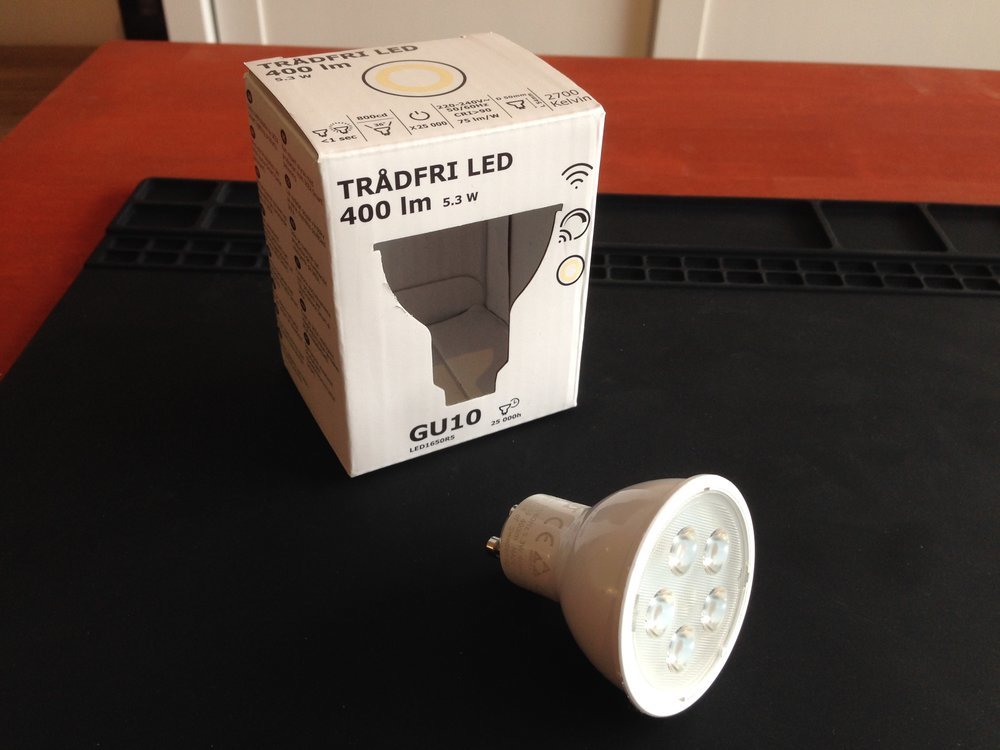
Because I use cool Ikea Tradfri light panels in my bathroom and also have a dimmer, I decided to have the mirror controllable also with Ikea Tradfri. To archive this, I bought an insane cheap Tradfri LED GU10 light bulb from Ikea for just 6,99€. This is just 1/4 of the cheapest Philips Hue available and has a normal ZigBee module included. For this price I was not awared to crack this thing open and potentially break it.
So see the steps I extracted the ZigBee module from the light bulb:
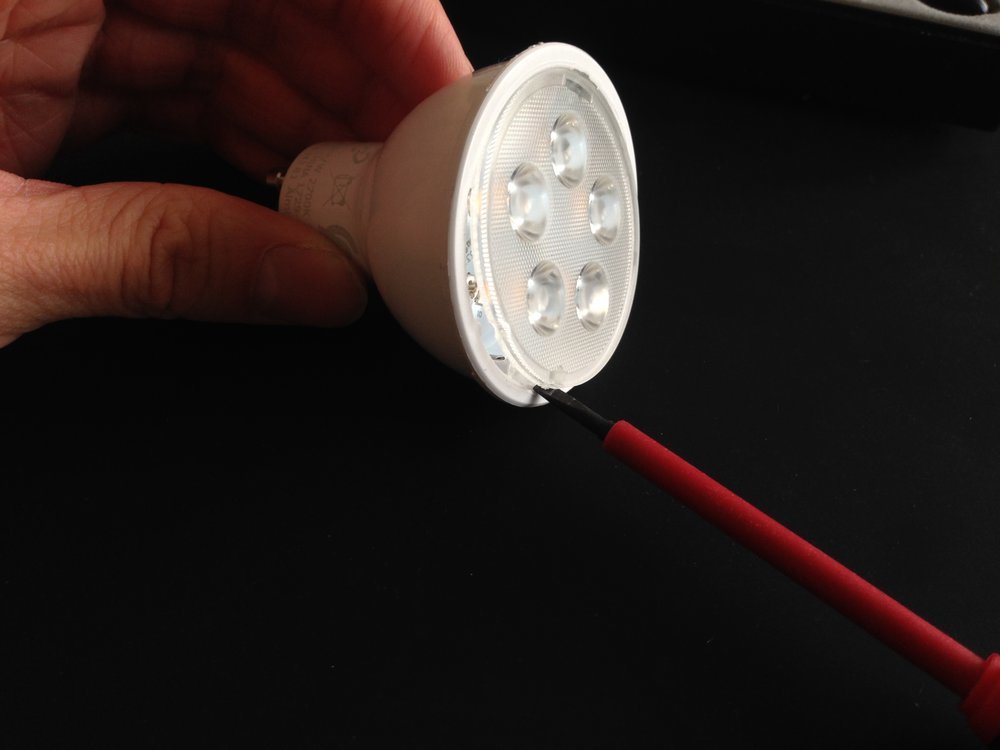
It was not to hard to open the Ikea Tradfri GU10 LED bulb

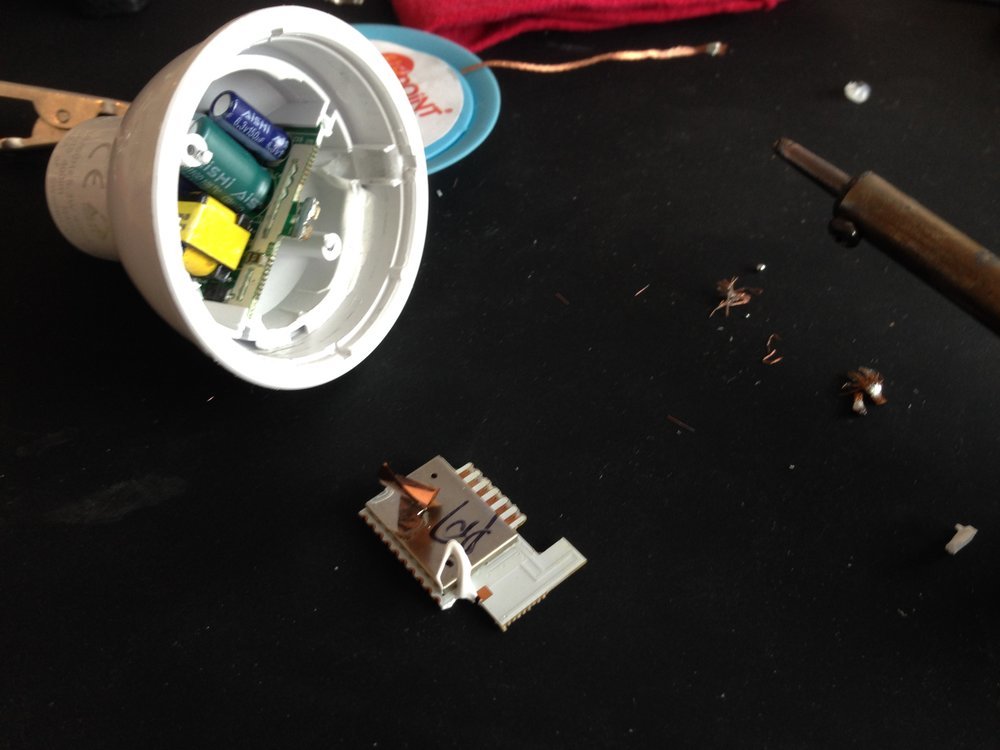
The LED heat sink must be unsoldered first, than the ZigBee controller can be extracted from the LED bulb
The module is powered with 3,3V and I used just three connections: VCC, GND and the PWM output (PB13) for the LED driver MOSFET. See the pinout of the module below (thanks to Mikael Sundin):
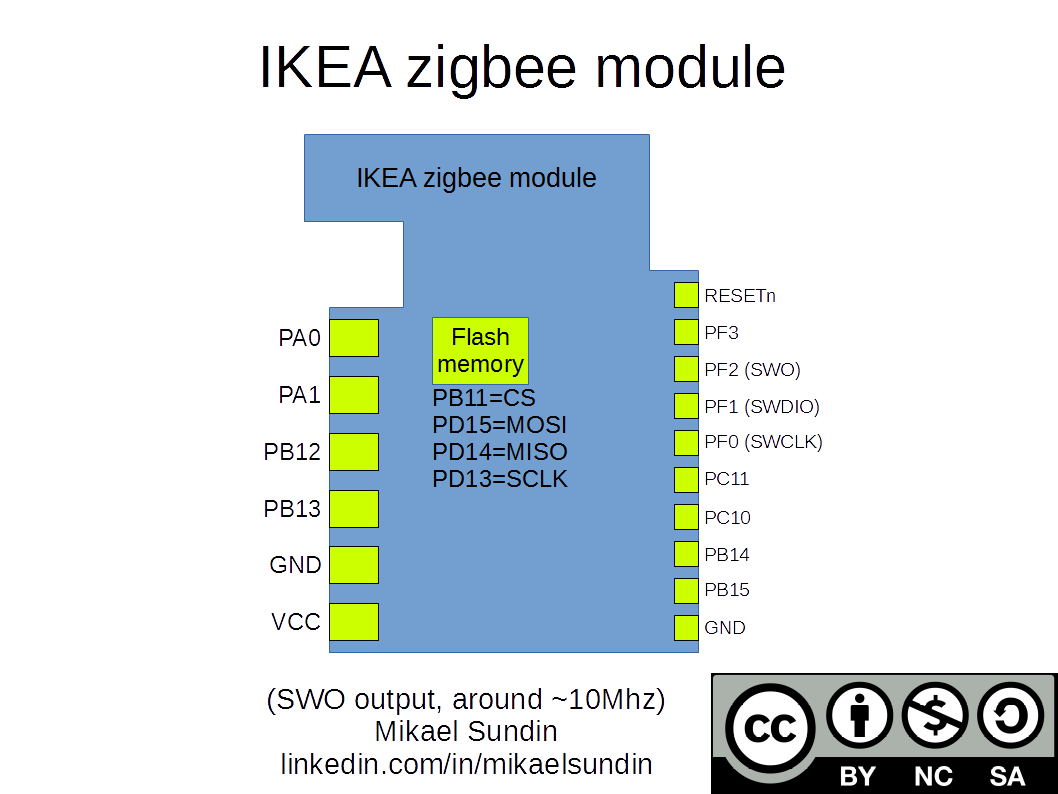
The pinout of the Ikea Tradfri controller (author: Mikael Sundin)
The electronics
The electronics basically are quite simple: First, the positive input of the power supply goes via a fuse (2,5A) to the circuit to have some safety if anything in the circuit goes horribly wrong (e.g. a short, or fatal malfunction of a component). Than the 24V DC input voltage is stepped down to 3,3V for the ZigBee controller board via a high efficient Pololu step-down converter (D24V10F3) with the ability to deliver around 1A current - which is a lot more the Tradri module needs, but I had no other module laying around :-)
To power the LED strips, I used the AP70T03GH n-channel power MOSFET in the TO-252 package because I extracted it from an cheap chinese RGB-LED driver circuit. It is able to deliver a lot of energy (according to the datasheet: 53W). The positive wire of the power supply goes to the anode of the LED strip, the ground connection goes to the source pin of the MOSFET. The drain pin is soldered on a copper plate which is connected to the cathode of the LED strip. This method is called common ground and is often used to driving power LEDs. The copper plate is used as a heat sink for the MOSFET. It shouldn't be necessary because the maximum measured current was 1,5A @ 24V (LEDs in full brightness), which is quite below the maximum limits of the MOSFET. In my tests the MOSFET never gets warmer than a hand warm (just around 25°C) which is absolutely okay for a power MOSFET.
Finally the PB13 pin of the controller board is connected to the gate of the MOSFET and switch the LEDs very quickly on and off to have the illusion of dimming (this is called Pulse Width Modulation aka PWM).
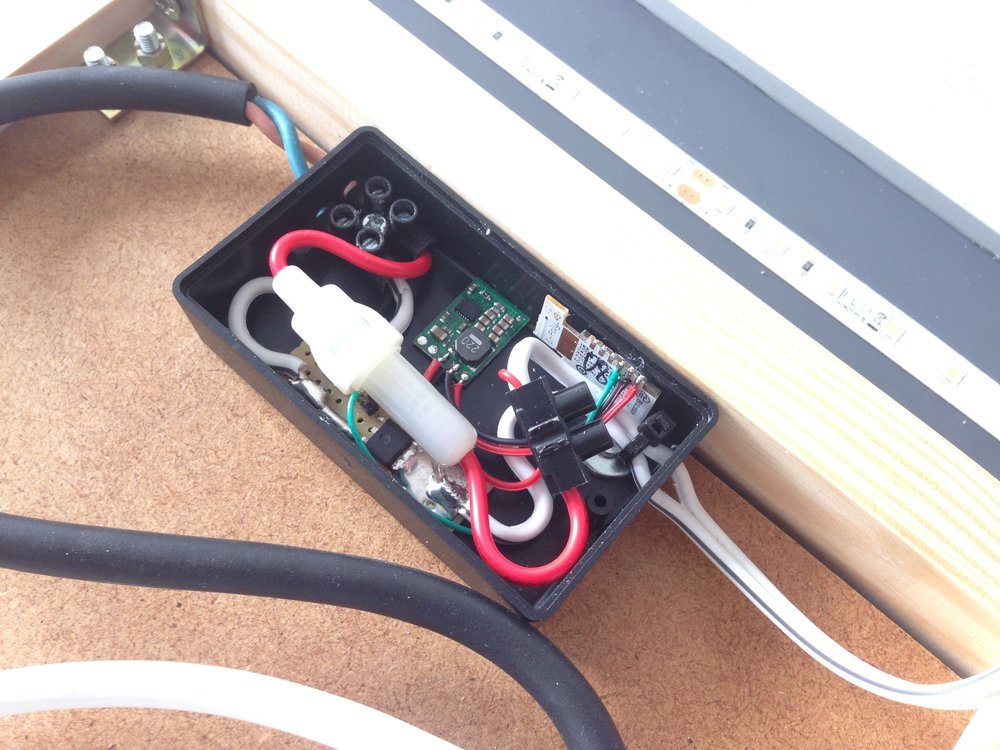
The electronics box of the mirror
The backframe
Because it wasn't allowed to drill holes for screws in the bathroom, I used the hole that exposes the 230V mains cables to hang to mirror in. I bought some lightweight wood (beech) and some other parts in the local building center to build the back frame. I secured the heavy 60W power supply to the backframe and also the electronics box. The frame is sticked to the mirror with special construction glue that holds really heavy objects together. I used “Pufas Konstruktions-Kleber K 15” because it does not contain any dissolvent that could possible damage the mirror backside. Also it is explicitly suitable for both flat glas/mirrow and wood surfaces.
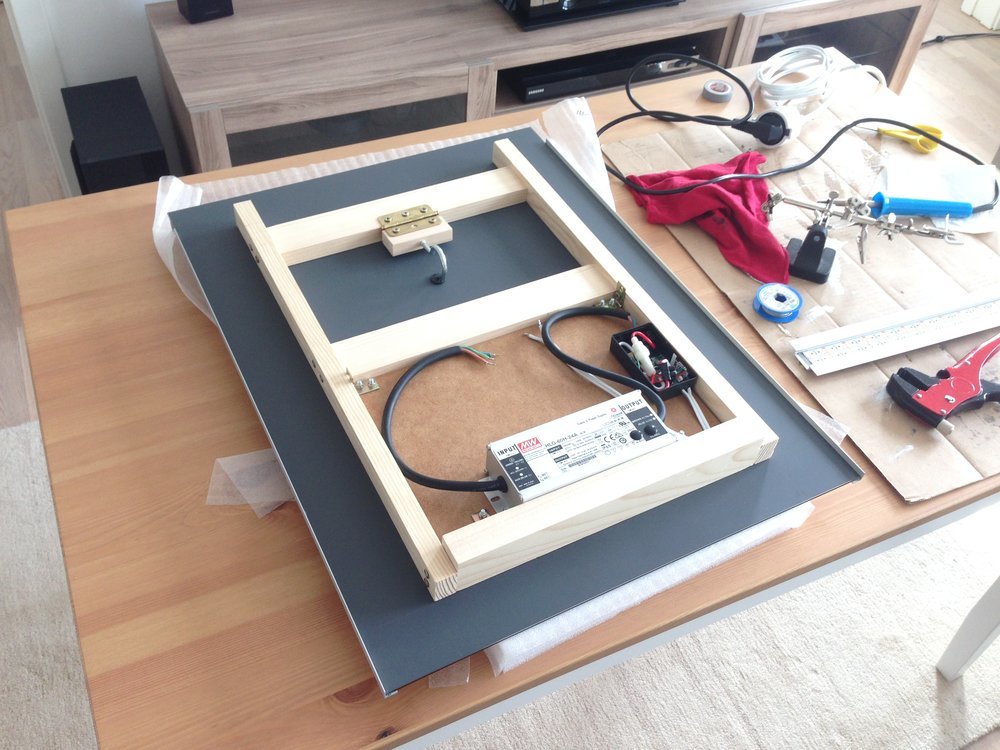
The wood backframe that holds the power supply and electronics is sticked with strong construction glue to the mirror surface
Top front lighing
The neutral background color looks really amazing for decoration, but for realistic light, a cold white light is often used for bathroom mirrors to have a more realistic “day light” source. Thus I also added an aluminum profile sticked to the top side of the mirror that contains 2 lines of 10mm LED strip and emit the maximum amount of light in a proper angle to the person in front of the mirror. Because the mirror had some small damages on the sides that looked not so nice, I bought two cheap alumunium profiles with 90° angle (10mm x 10mm x 1000mm) to cover the bad spots. The aluminum profiles I glued with the same construction glue.
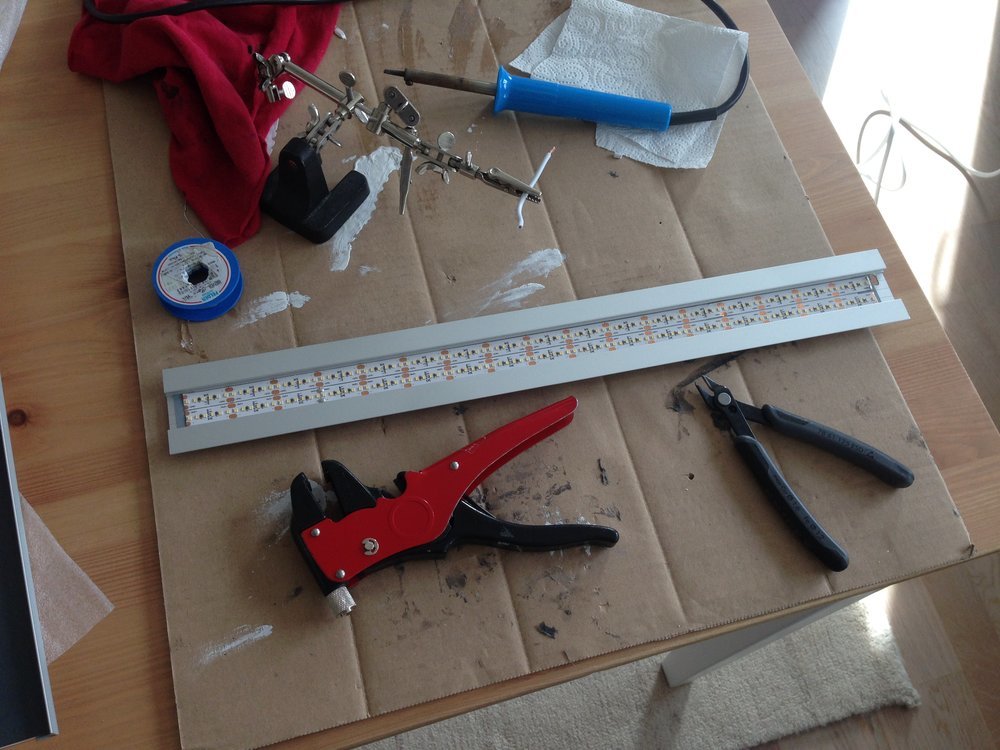
The cold white LED strips in the front lighting aluminum profile
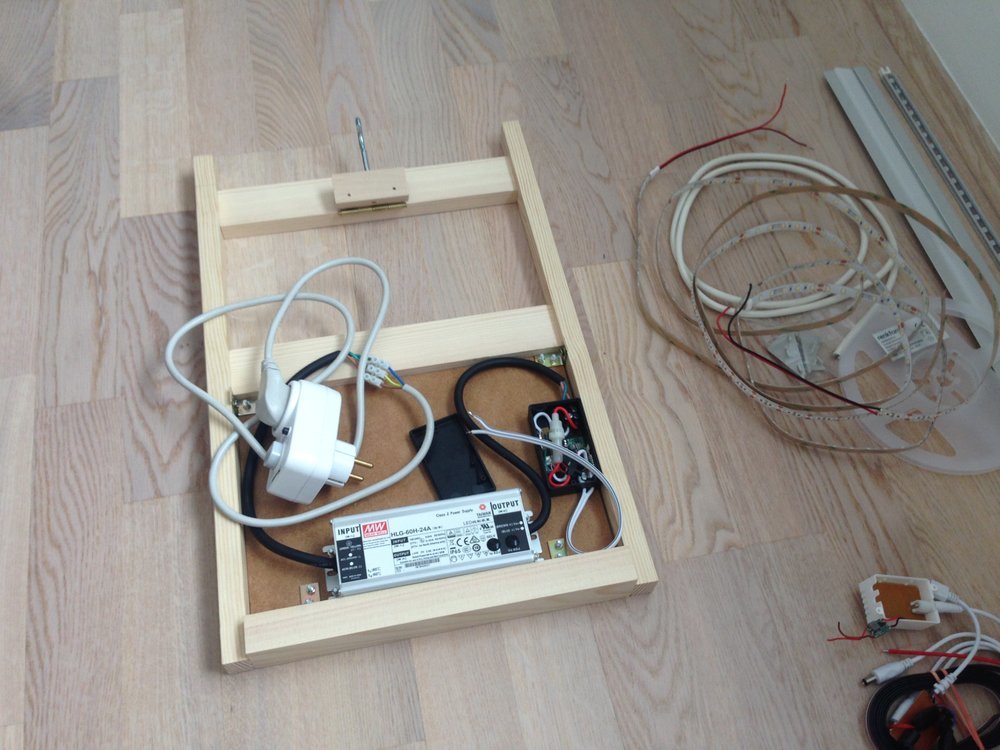
First test
After placing the background LED strip on the backside of the mirror and soldering everything together, it was time to do a first test, pair it with the Ikea Tradfri system and play around:
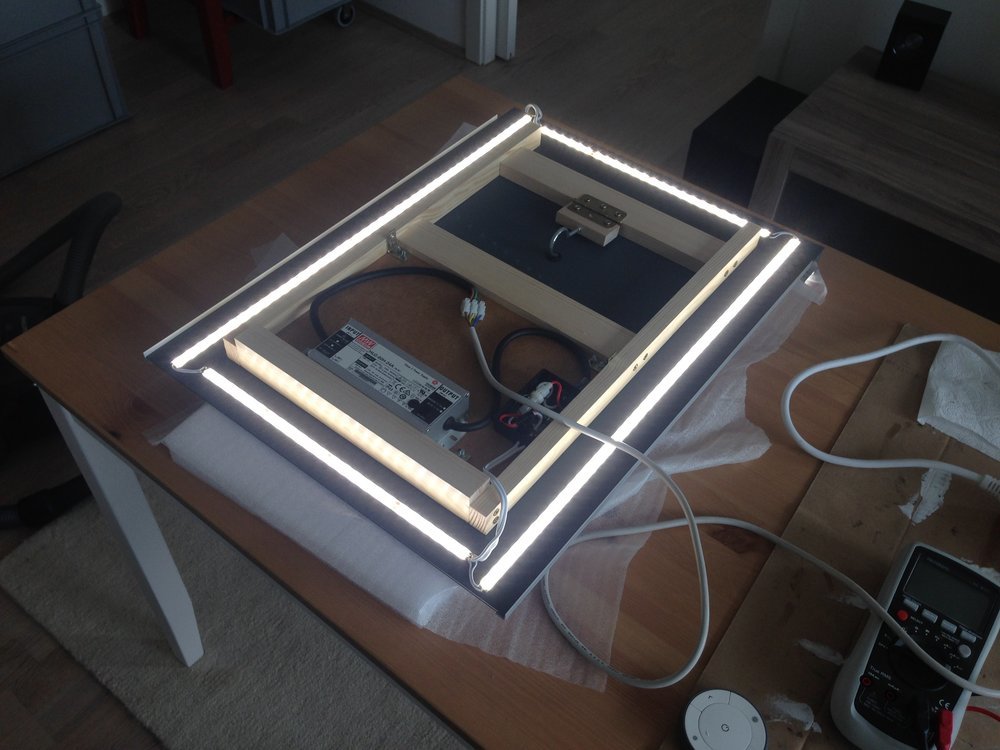
The first test after I connected everything together
It worked quite well, so after adding some small details (e.g. rubber spacer to have some distance to the wall), I connected the power supply to the mains connections on the wall and hanged to mirror in the given hole. From that day on, I have a nice looking DIY design mirror that is controllable with Ikea Tradfri:
The final Ikea Tradfri compatible DIY design LED mirror
Tags: LED, DIY, Ikea, Tradfri, Smart Home